
May 14, 2023
00 Hello Triangle
Let’s start with a simple cross-platform and cross-API “Hello Triangle” application using Tellusim Core SDK. Any C++ application based on Tellusim Engine is started at the standard main() entry point, without exception. First, we need to create a Window for our application:
int32_t main(int32_t argc, char **argv) {

    // create window
    Window window(PlatformAny);
    if(!window || !window.create("00 Hello Triangle") || !window.setHidden(false)) return 1;
    window.setKeyboardPressedCallback([&](uint32_t key, uint32_t code) {
        if(key == Window::KeyEsc) window.stop();
    });
PlatformAny will use the best possible API for our platform. A keyboard callback is required to close the window when the user presses the Escape key. Next, we need to create a Device interface for the current API, which will help us create other interfaces:
    // create device
    Device device(window);
    if(!device) return 1;
It’s time to create the graphical Pipeline:
    // vertex layout
    struct Vertex {
        Vector2f position;
        Color color;
    };

    // create pipeline
    Pipeline pipeline = device.createPipeline();
    pipeline.addAttribute(Pipeline::AttributePosition, FormatRGf32, 0, offsetof(Vertex, position), sizeof(Vertex));
    pipeline.addAttribute(Pipeline::AttributeColor, FormatRGBAf32, 0, offsetof(Vertex, color), sizeof(Vertex));
    pipeline.setColorFormat(window.getColorFormat());
    pipeline.setDepthFormat(window.getDepthFormat());
    pipeline.setDepthFunc(Pipeline::DepthFuncAlways);

    // vertex shader
    if(!pipeline.createShaderGLSL(Shader::TypeVertex, R"(
        layout(location = 0) in vec4 in_position;
        layout(location = 1) in vec4 in_color;
        layout(location = 0) out vec4 s_color;
        void main() {
            gl_Position = in_position;
            s_color = in_color;
        }
    )")) return 1;

    // fragment shader
    if(!pipeline.createShaderGLSL(Shader::TypeFragment, R"(
        layout(location = 0) in vec4 s_color;
        layout(location = 0) out vec4 out_color;
        void main() {
            out_color = s_color;
        }
    )")) return 1;

    if(!pipeline.create()) return 1;
The Vertex structure describes our vertex layout. Each Vertex contains position and color information with a total size of 24 bytes. Pipeline attributes will pass position and color to the Vertex shader. The color formats must be passed from the Window interface, as they depend on the platform and API. The depth function test is set to always. Vertex and Fragment shaders are created at runtime from GLSL code, which will be automatically translated to the target graphical API. With just a few more lines of code, we can begin the rendering process:
    // create target
    Target target = device.createTarget(window);
    target.setClearColor(Color::gray);

    // vertex data
    static const Vertex vertices[] = {
        { Vector2f( 1.0f, -1.0f), Color::red   },
        { Vector2f(-1.0f, -1.0f), Color::green },
        { Vector2f( 0.0f,  1.0f), Color::blue  },
    };
The Target interface is a Framebuffer or Render Target abstraction. In our case, we will render to our Window and use gray color for the background. The vertices array contains the per-vertex position and color information for the triangle. Let’s start the rendering:
    // main loop
    window.run([&]() -> bool {

        Window::update();

        // render window
        if(!window.render()) return false;

        // window target
        target.begin();
        {
            // create command list
            Command command = device.createCommand(target);

            // set pipeline
            command.setPipeline(pipeline);

            // set vertex data
            command.setVertices(0, vertices);

            // draw triangle
            command.drawArrays(3);
        }
        target.end();

        // present window
        if(!window.present()) return false;

        // check errors
        if(!device.check()) return false;

        return true;
    });
This function is our main loop, where we process Window events, perform rendering, and present the result. The block between target.begin() and target.end() creates a command list for our triangle. command.setVertices() uses the best possible way to upload CPU array to the GPU. In the case of modern APIs, it will be a persistently-mapped buffer. And here is our “Hello Triangle”:
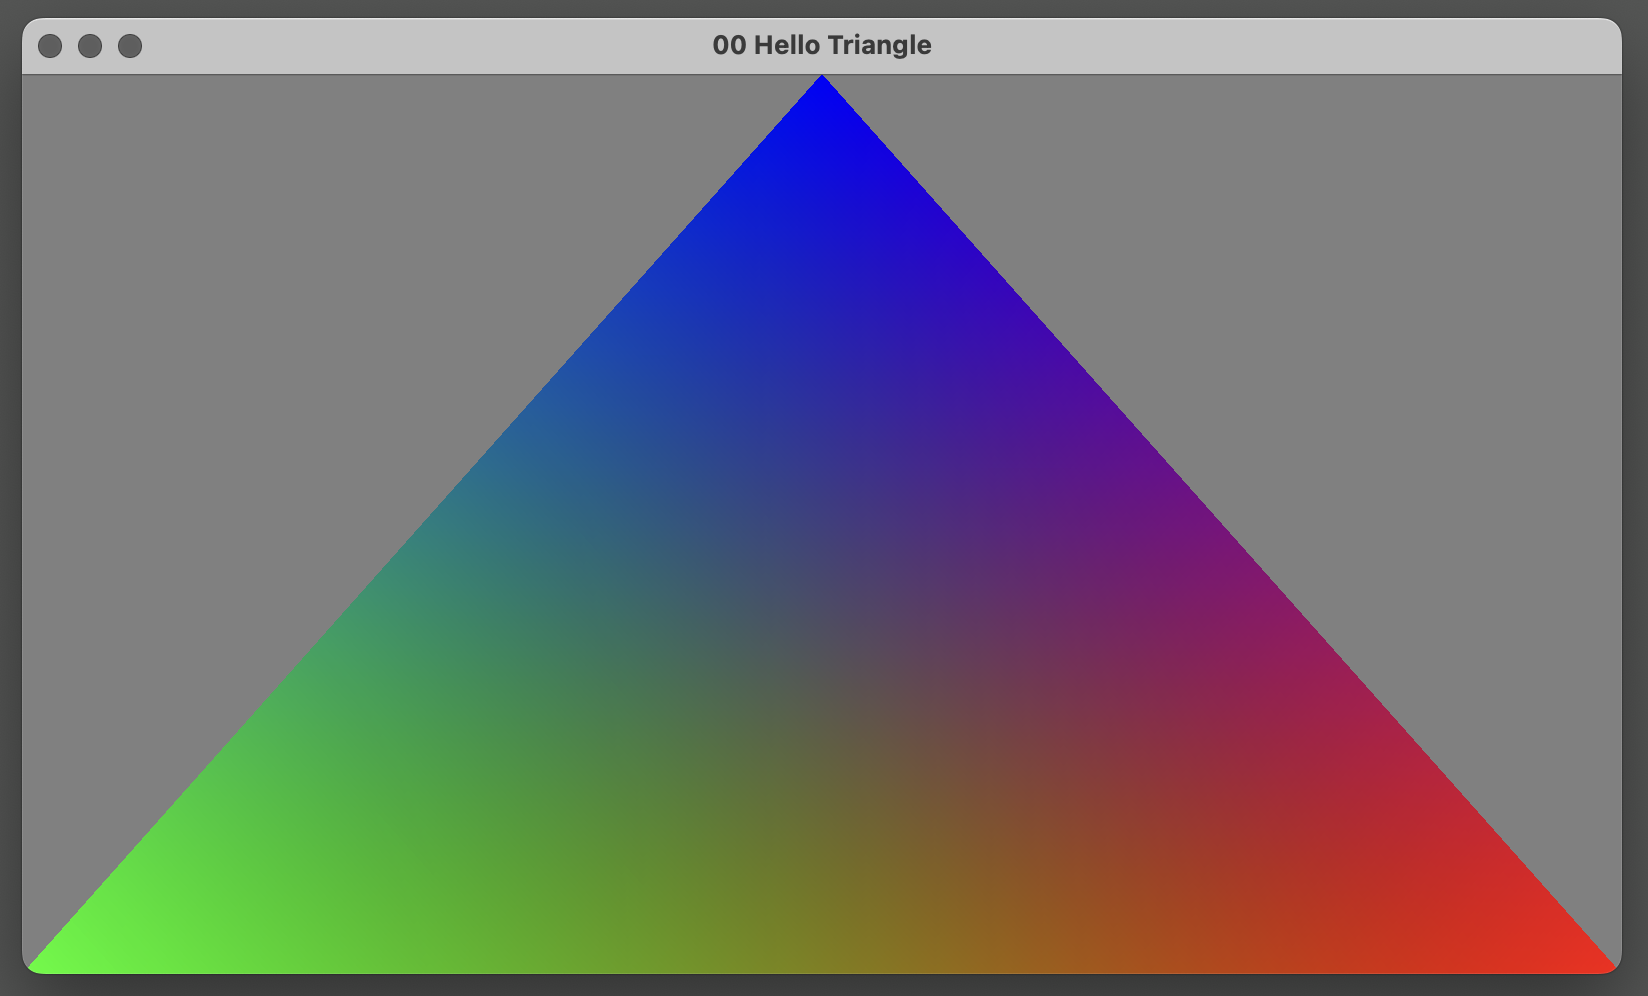
We wrote less than 100 lines of C++ code to draw a triangle on any platform and API. It’s 10x times more efficient than using native Vulkan. It means you can focus on your tasks rather than struggling with the API. The same efficiency is available with C#, Rust, and Python.