
January 11, 2026
SDK 48
Highlights
- Node-based GraphVarying editor.
- NodeObject instancing for massive object replication.
- MSAA compatibility with D3D12 SM6.7.
- Sparse textures for D3D12 (sparse resource tier 4 is required).
- Indirect top-level tracing builds on Vulkan (only AMD and Intel drivers support it).
- Enhanced dialogs on Linux platforms.
- Editor compatibility with SteamOS.
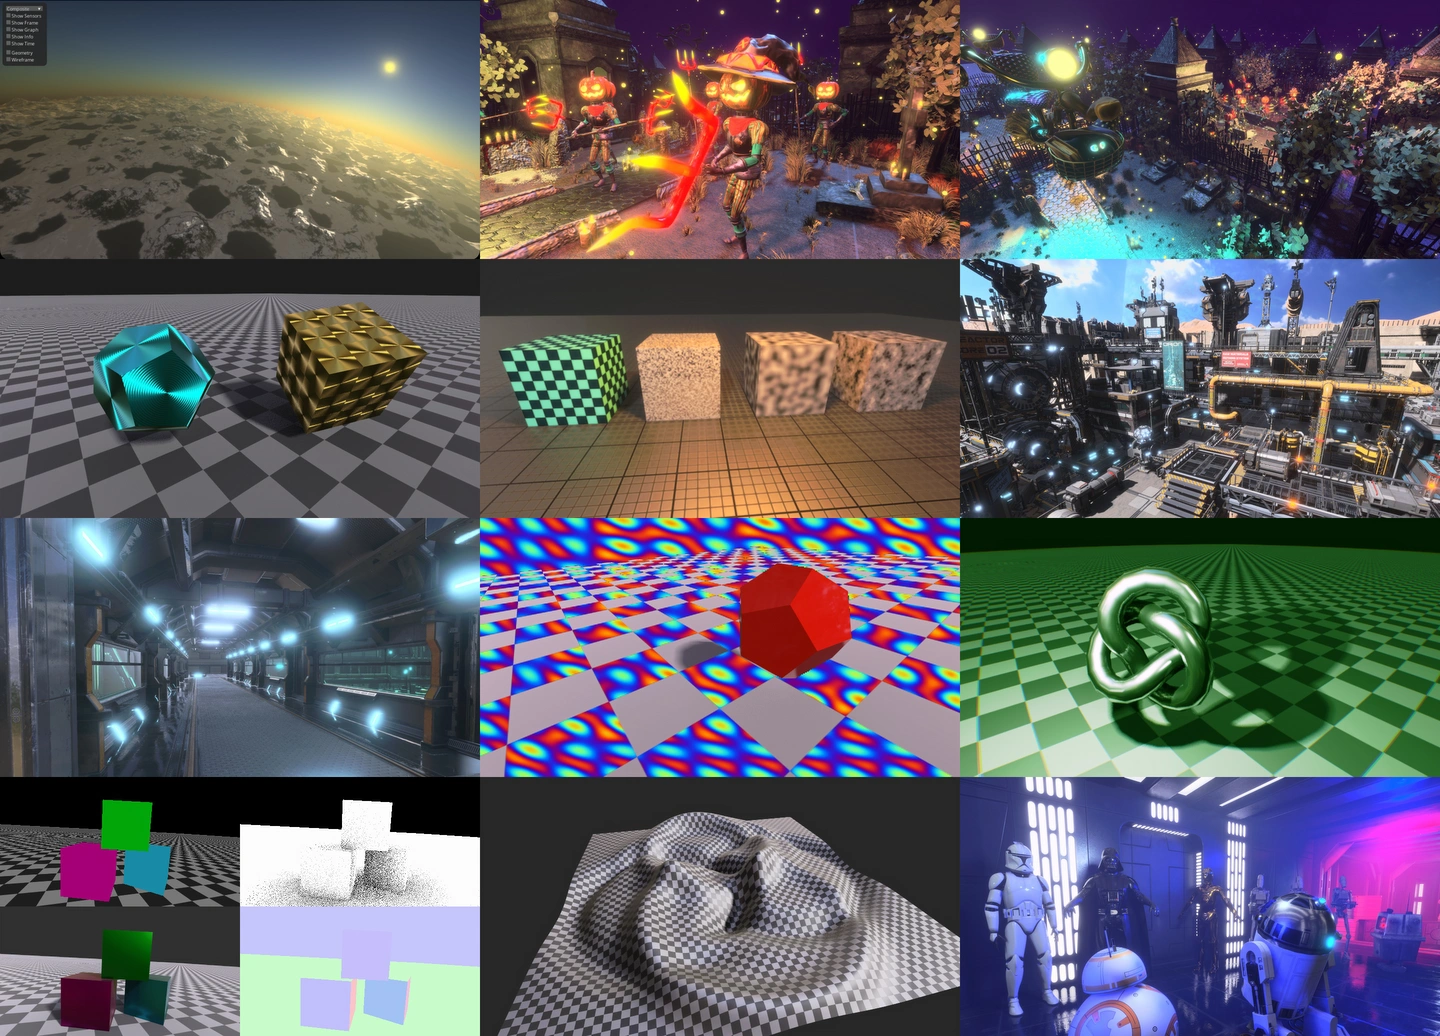
- graph_flow_normal scene demonstrates two-pass normal map texture generation.
- graph_flow_texture scene demonstrates procedural texture generation.
- graph_flow_perlin scene demonstrates dynamic procedural textures.
- gl_device, gles_device, and gles_runtime native examples have been added.
- native/vk_qt_widget example has no dependency on the Vulkan library.
- platform/divisor example demonstrates the vertex attribute rate parameter for per-batch input.
- platform/cooperative test is compatible with non-square matrices.
- render/limits has an additional instancing-based rendering mode (slower than BVH-based).
- materials/material_alpha scene demonstrates alpha-tested geometry.
- objects/object_skeleton scene demonstrates hierarchical skeletons.
- scripts/script_material_motion scene demonstrates the motion blur effect.
- scripts/script_material_grid scene generates a high-frequency output verification image.
- native/vk|d3d12|d3d11_device sample outputs all platform-specific device features.
- render/multisample demonstrates engine MSAA rendering.
- Boolean uniform type has been added to the GraphVarying type in Explorer.
- GraphFlow editor has been added to Explorer.
- Explorer and Executor support sparse buffers and textures controlled by the “-sparse 1” command line option.
- Executor now supports controller-based camera movement (can be disabled with the “camera/controller” option).
- Executor supports tracing_all and screen_all command line options for fast rendering mode selection.
- Light texture visualization has been added to Explorer.
- Pool texture visualization has been added to Explorer.
- The quality of the selection area has been improved.
- GraphFlow plugin for node-based GraphVarying editing has been added.
- Integer vector types have been added to the ControlFlowGLSL editor.
- Circle, triangle, box, pentagon, hexagon, octagon, and star SDF protos have been added to ControlFlowGLSL.
- Wave, ripple, and twist warp protos have been added to ControlFlowGLSL.
- Checker sampler proto has been added to ControlFlowGLSL.
- Color masks and stencil functions have been added to the MaterialFlow layout proto.
- Clutter and BatchTransform plugins have been moved to the plugin/graphs directory.
- A new interface/popup plugin for popup controls and menus has been added.
- DLSS, FSR3, and XeSS plugins have been updated to the latest versions.
- New FSR1 and FSR4 plugins have been added.
- A new FXAA plugin has been added.
- Noise generation has been moved to the interface/flow plugin from the material/flow plugin.
- Tracing shader source generation has been added to the material flow and MaterialX plugins.
- A direction proto to construct a direction vector from two angles has been added to ControlFlow.
- Enhanced tooltip visualization with delayed disappearance.
- Instance and Payload protos have been added to MaterialFlow.
- Transform input has been added to the Vertex input proto of MaterialFlow.
- Group specification has been added to the Uniform proto of MaterialFlow.
- A Line primitive has been added to the Primitives plugin.
- Primitives correctly provide line geometry for ObjectMesh flags with lines.
- MaterialShading Tracing source has been renamed to Sample source.
- SceneRender interface provides access to temporal render textures.
- The Scene interface now provides the directory where the scene file is located.
- Methods for registering buffers with default offsets and callbacks have been added to SceneBuffer.
- NodeObject methods to control instancing with CPU and GPU counts have been added.
- Payload address and stride parameters have been added to NodeObject.
- Support for motion-buffer per-pixel jitter offsets has been added via the RenderManager|RenderRenderer::FlagJitterBuffer flag.
- LightPoint and LightSpot return the intensity texture index.
- RenderDraw supports multisample texture visualization.
- API-specific Context interfaces receive a device index in the constructor.
- VK|D3D12|D3D11Device classes now provide native device features.
- Access to API layers and extensions in VK|GL|GLESContext and VKDevice has been added.
- The matrix8x16x16f16 matrix type has been added to the Device::Features structure.
- Device::Features structure names have been changed to follow API-name style.
- Device::Features::textureArraySparse field has been added (array textures with a full mipmap chain).
- Device::Features::surfaceMultisample field has been added (compute shader writes to MSAA textures).
- A dedicated ControlRoot::setMousePosition() method has been added.
- ControlText can optionally handle Pressed and Focused callbacks.
- ControlTree accepts right and left buttons for tree expanding/folding.
- Canvas|Controls::raiseChild|lowerChild() methods now accept the target position index.
- Controls::AlignLocal aligns controls using local boundaries only.
- The ObjectMesh::FlagInstancing flag activates optional geometry instancing at the ObjectMesh level.
- SeparableFilter now supports custom filter kernels specified by setKernelSource().
- The number of Function template arguments has been increased to 10.
- System::exec() now returns the process exit code. The check for successful execution is (ret == 0).
- Correct mesh morphing for meshlet-based geometry.
- Corrected ControlDialog mouse movement compensation with fractional rendering scales.
- Corrected literal recognition of mixed formats.
- Linux dialogs have a fallback mode through kdialog and zenity applications.
- Qt6 support has been added to Linux dialogs.
- Support for RWTexture2DMS in HLSL.
- Support for input and output gl_SampleMask on all platforms.
- Constant-based mix operations are now resolved at the compilation stage in the shader compiler.
- Constant-based pow for powers 2, 3, 4, 5, and 8 is replaced by multiplications in the shader compiler.
- Correct handling of tracing masks for tracing shadows and reflections.
- Improved noise sequence generation for reflection and occlusion samples.
- Meshlet and compute rasterization support meshes with morphing.
- Correct tracing generation for meshes with morphing.
- Correct tracing generation for meshes with hierarchical skeleton animations.
- The script system uses try { } blocks for external code execution.
- vbar() and hbar() texture patterns have been added.
- Correct tangent basis generation for mesh line primitives.
November 29, 2025
SDK 47
Highlights
- Tellusim Core SDK is now available on GitHub.
- A new series of Getting Started tutorials has been added to the documentation.
- Added USD MaterialX material support.
- New batch transformation plugin for massive node updates.
- Object loading methods now support multiple material roots via material callbacks.
- Added GLSL sizeof(), offsetof(), and assert() functions.
- Improved FFT with support for non–power-of-two sizes.
- General optimizations and bug fixes.
- NodeSkyBox plugin has been added to Explorer.
- NodeGrid (node duplication) plugin has been added to Explorer.
- RenderFlares (glares, ghosts, and flares) plugin has been added to Explorer.
- The Project tool parses all Makefile branches for correct project file generation.
- New scene/transform plugin performs compute-based transformations for provided nodes for extremely fast node updates.
- MaterialFlow plugin enables screen-space and traced reflections for forward and transparent passes.
- MaterialX plugin now provides the MaterialXManager class for simple MaterialX-based material handling.
- MaterialX plugin has been updated to the latest MaterialX runtime libraries.
- Streamer plugin supports user-defined name prefixes that can be removed or replaced.
- Streamer plugin excludes files with the .asset extension from being treated as asset archives.
- SkyBox object plugin added. Supports Panorama, Cube, and LightImage textures.
- Flares render plugin added. Supports glares, ghosts, and flare effects.
- New XeFG frame generation plugin has been added.
- materials/material_pixel_depth scene demonstrates a pixel-depth effect for smooth object intersections.
- render/render_bloom scene demonstrates a full-scene blur effect with bloom postprocessing.
- render/render_tonemap scene demonstrates tonemap color adjustment.
- graphics/object_tree example demonstrates simple GPU-driven rendering with multi-draw-indirect rendering.
- parallel/fourier_2d sample performs image convolution using the Fast Fourier Transform.
- platform/formats sample demonstrates mixed color formats.
- platform/mapped sample demonstrates efficient Vulkan read and write shader access to mapped files.
- platform/sparse sample demonstrates the Sparse texture API.
- native/d3d12_program sample demonstrates generic D3D12 programs.
- native/vk_swap_chain example demonstrates custom swap chain creation for the Window interface.
- native/gl_runtime example demonstrates direct access to the OpenGL API for rendering.
- platform/bindless example can be used for evaluating bindless resource overhead.
- Compatibility with Visual Studio 2026.
- All generated SDK project files have been verified.
- API pointer performance (allocation and access) has been improved by 20%.
- New ObjectMesh and ObjectBrep loaders support multi-parent objects with a new signature that accepts a material callback.
- New ObjectMesh and ObjectBrep createMaterials() methods are available for custom material creation.
- Added wasMouseButtonReleased(), wasKeyboardKeyPressed(), and wasKeyboardKeyReleased() methods to the Window class.
- Added wasButtonPressed() and wasButtonReleased() methods to the Controller class.
- Added setTonemapTexture() method to RenderFrame for 3D texture-based tonemappers.
- RenderFrame::setBloomFade() controls composite texture fading. Can fully blur the composite texture.
- A negative bloom scale disables the internal bloom composite step and enables use with external bloom plugins.
- SceneRenderer::dispatchBloomFrame() provides all temporary downscaled and upscaled textures for implementing custom bloom effects.
- Async interface is now available in Script constructors.
- MaterialShading can initialize a shading texture directly from the Image interface.
- The PixelDepth material option offsets the shadow map texture to reduce self-shadowing artifacts when pixel depth is enabled.
- Atomic::set() is now an atomic operation instead of a volatile write.
- bitcount(), bitleast(), bitmost(), bitreverse() for uint32_t and uint64_t types have been added.
- Added support for RGBf9Eu5 textures.
- Cross-platform support for GLSL bitfieldExtract(), bitfieldInsert(), bitfieldReverse(), findLSB(), findMSB() functions have been added.
- HLSL code generation related to incorrect address optimization has been fixed.
- USD parser correctly merges child elements if the destination element has no children.
- USD loader supports MaterialX materials and generates a MaterialX XML blob during loading.
- GLSL compiler supports the assert() keyword, which stops compilation if an expression is zero.
- GLSL compiler supports offsetof() and sizeof() keywords for constants, allowing structure-size validation in assertions.
- GLSL compiler performs additional constant-based optimizations for all arithmetic operations.
- A preprocessor bug involving incorrect inclusion of DOS-encoded (\r\n) files has been fixed.
- An issue with incorrect propagation of the nonuniform() decoration in GLSL and HLSL shaders has been fixed.
- Texture and Buffer D3D12 tables are now bound once per frame to reduce overhead for multiple binds.
- Increased the number of per-frame D3D12 resource handles to 1024 * 512 to support large table resources.
- Screen-space reflections produce artifact-free results for the forward rendering pass when depth-bias cannot be evaluated.
- A bug with incorrect cube-texture LOD bias during upscale rendering has been fixed on all platforms (Metal not affected).
- Sizes of all scene and render shader structures are validated with the assert() keyword.
- NodeObject adds program hashes to self-assigned materials.
- Support for the latest Apple devices has been added to the Info class.
- Image class now supports mixed format conversions (FormatRGBAu4n, FormatRGBu5Au1n, FormatRu5Gu6Bu5n, FormatRGBu10Au2n, FormatRGf11Bf10, FormatRGBf9Eu5).
- Added init() method to all Script classes. init() is called after all parameters are set. Parameter values are not available in the constructor.
- FourierTransform supports non–power-of-two sizes with optimized multipliers for 3, 5, 6, and 7.
- Current camera_znear value is available during shadow map rendering.
- SceneManager::setBufferParameters() now skips manually assigned buffer sizes.
August 23, 2025
SDK 46
New Engine features:
- Bloom post-processing.
- Improved temporal antialiasing quality and responsiveness.
- Added a simple procedural texture generator to SceneTexture, supporting grid, checkerboard, Perlin, fractal, noise, and blend functions.
- MaterialMetallic and MaterialSpecular anisotropy direction is specified in the RG components of the auxiliary texture when the clearcoat option is disabled.
- All raw data in scene, graph, and node files is now compressed.
- Compatibility with Wayland window managers.
- Removed WinApp platform support.
- Added NodeAnimator, NodeOscillator, NodeRotator, and NodeTransformer prefabs to the Tellusim Explorer.
- Executor fetches the target camera transformation matrix for correct assignment to GPU-driven cameras.
- Explorer includes controls for refraction dispersion parameters.
- Explorer can now export and import RenderFrame settings.
- Explorer stores separate UI settings for different desktop configurations (laptop display vs external monitor).
- Option + F hotkey in Explorer hides all controls and maximizes the rendering viewport.
- Project file generator now supports C#, Rust, Swift, Java, JavaScript, and Python templates.
- Browser application interface is now based on the plugins/interface/app plugin.
- Added plugins/interface/app plugin for simple single-window desktop applications.
- XeSS upscaler plugin updated to the latest version with Vulkan support.
- DLSS upscaler plugin updated to the latest version.
- Added Stairs and Ramp primitives to plugins/objects/primitives.
- plugins/objects/scattering plugin now supports optional fast-forward blending and a sun billboard.
- samples/scenes/materials/material_texture showcases procedural textures.
- samples/scenes/scripts/script_material_background procedural background material with alpha compositing.
- samples/scenes/scripts/script_material_filter simple post-processing material.
- samples/scenes/scripts/script_material_split split post-processing material.
- samples/scenes/scripts/script_mesh_update dynamic vertex buffer updates.
- tests/manual/13_hello_interop simple CUDA API interop.
- tests/native/vk_gtk3_window Vulkan embedding into a GTK3-based window.
- tests/native/gl_gtk3_window OpenGL embedding into a GTK3-based window.
- tests/native/hip_texture AMD HIP texture interop.
- tests/platform/shared simple multi-GPU texture interop for split rendering.
- tests/scene/mesh custom ObjectMesh initialization and dynamic updates.
- tests/geometry/refine includes UI for refining parameters.
- tests/geometry/reduce includes UI for reduction parameters.
- System::exec() prints process output to the log when the new console argument is set.
- MeshRefine::subdiv() accepts a weight parameter to interpolate between the target and original surface.
- CanvasElement supports YOG texture visualization with the CanvasElement::ModeTextureYOG flag.
- SpatialTree enablement flag now uses the highest bit of bound_max.w remaining bits are available for user data.
- Window class supports minimum and maximum window sizes.
- Added support for backward and forward mouse buttons.
- RenderDraw supports YOG texture visualization with the RenderDraw::ModeYOG mode.
- Added bloom configuration parameters to RenderFrame.
- Added bloom rendering pass to RenderRenderer and SceneRenderer.
- Added dedicated RenderRenderer::dispatchExposure() method for external upscalers.
- RenderRenderer::dispatchTonemap() is now required after RenderRenderer::dispatchComposite().
- SceneManager supports fast vertex and index buffer updates and copy operations, similar to storage and scalar buffers.
- Added UniformDiffuseOffset parameter to Metallic and Specular root materials.
- Added UniformSpecularOffset parameter to Specular root material.
- CameraPerspective supports focal-length-based FOV specification.
- Added NodeBase interface for custom node-based logic.
- Added new Blob constructor with a size argument.
- Added Directory::getBinaryDirectory() method.
- Added 3D Perlin noise generation to math/TellusimNoise.h.
- Added default vectors oneX, oneY, oneZ, and oneW to all math/TellusimVector.h classes.
- Scene global identifier generator can now be re-initialized to keep ID values low.
- Shader compiler optimizes integer multiplication and division by powers of two using shift operations.
- MeshOptimizer compares floating-point formats with epsilons of 1e-3f (half), 1e-6f (float), and 1e-12f (double).
- X11 libraries are now loaded dynamically; no X11 dependency for console applications.
- Improved motion vector hash calculation for better stability in complex scenes.
- WebGPU backend migrated from Emscripten to Dawn.
- Added support for the WebGPU cull distance extension.
- Added support for Vulkan 1.4 methods.
May 31, 2025
New Tellusim Documentation
April 29, 2025
SDK 44
March 23, 2025
SDK 43
February 23, 2025
SDK 42
January 20, 2025
SDK 41
December 23, 2024
The Power of GPU-Driven Scenes
December 8, 2024
11 Hello Bindless
November 11, 2024
GPU texture encoder
November 9, 2024
10 Hello Image
November 8, 2024
SDK 40
September 25, 2024
09 Hello Controls
September 1, 2024
08 Hello Canvas
September 1, 2024
SDK 39
September 18, 2023
07 Hello Splatting
August 28, 2023
06 Hello Traversal
August 13, 2023
05 Hello Tracing
August 12, 2023
04 Hello Raster
July 31, 2023
03 Hello Mesh
July 7, 2023
Scene Import
June 25, 2023
02 Hello Compute
May 15, 2023
01 Hello USDZ
May 14, 2023
00 Hello Triangle
April 24, 2023
WebGPU Update
April 4, 2023
Tellusim Upscaler Demo
February 10, 2023
DLSS 3.1.1 vs DLSS 2.4.0
January 31, 2023
Dispatch, Dispatch, Dispatch
October 28, 2022
Tellusim upscaler
October 14, 2022
Upscale SDK comparison
September 20, 2022
Improved Blue Noise
June 19, 2022
Intel Arc 370M analysis
January 16, 2022
Mesh Shader Emulation
December 16, 2021
Mesh Shader Performance
October 10, 2021
Blue Noise Generator
October 7, 2021
Ray Tracing versus Animation
September 24, 2021
Ray Tracing Performance Comparison
September 13, 2021
Compute versus Hardware
September 9, 2021
MultiDrawIndirect and Metal
September 4, 2021
Mesh Shader versus MultiDrawIndirect
June 30, 2021
Shader Pipeline