
August 13, 2023
05 Hello Tracing
There are only a few ways to begin working with hardware-accelerated Ray Tracing. It’s always possible to use native Vulkan, Direct3D12, or Metal. However, this approach can result in a substantial amount of code where it’s very easy to make mistakes and difficult to maintain. And unfortunately, your applications will not work seamlessly on all platforms without significant refactoring. Tellusim Core SDK makes this possible by providing cross-platform and cross-API Ray Tracing support using C++, C, C#, Rust, or Python languages.
Ray Tracing rendering has a significant performance advantage over rasterization in scenes containing millions or billions of triangles. It’s faster when the number of tracing rays (pixels on the screen) is smaller than the number of visible triangles in the scene.
Let’s use the scene from the previous tutorial and render it using hardware-accelerated Ray Tracing. There are two ways to achieve this: the first is to use Ray Queries, which can be invoked from Compute or Fragment shaders, and the second way is to use Ray Tracing Pipelines. Tellusim supports both methods, and we will begin with the simpler Ray Queries approach.
We use a more compact naming convention for Ray Tracing objects. Instead of AccelerationStructure, we use the term Tracing. This term encompasses both BLAS (Bottom Level Acceleration Structure) and TLAS (Top Level Acceleration Structure). This approach enables us to create code that is more compact and easier to read/write.
In the first step, we need to ensure that Ray Queries are available from the Fragment shader. To achieve this, we must check the fragmentTracing member value of the Device::Features structure:
// check fragment tracing support
if(!device.getFeatures().fragmentTracing) {
    TS_LOG(Error, "fragment tracing is not supported\n");
    return 0;
}
Optionally, we can utilize Ray Queries from the Compute shader by testing the computeTracing member. There is no difference in performance.
Vertex and Index geometry buffers must be accessible for Ray Tracing shaders. This is crucial because hardware Ray Tracing only provides information about the intersected primitive and the distance where the ray hits. All other necessary parameters must be evaluated within the shader. To create Vertex and Index buffers, we can use the MeshModel interface, which generates buffers by the specified Pipeline Vertex layout. We can reuse the same code used for creating models for rasterization, with the addition of specific MeshModel::Flags required for Ray Tracing:
// create model pipeline
Pipeline model_pipeline = device.createPipeline();
model_pipeline.addAttribute(Pipeline::AttributePosition, FormatRGBf32, 0, offsetof(Vertex, position), sizeof(Vertex));
model_pipeline.addAttribute(Pipeline::AttributeNormal, FormatRGBf32, 0, offsetof(Vertex, normal), sizeof(Vertex));

// create model
MeshModel model;
if(!model.create(device, model_pipeline, mesh, MeshModel::FlagIndices32 | MeshModel::FlagBufferStorage | MeshModel::FlagBufferTracing | MeshModel::FlagBufferAddress)) return 1;
The geometry buffers are ready. It’s time to create geometry Tracing:
// create tracing
Tracing tracing = device.createTracing();
tracing.addVertexBuffer(model.getNumGeometryVertices(0), model_pipeline.getAttributeFormat(0), model.getVertexBufferStride(0), vertex_buffer);
tracing.addIndexBuffer(model.getNumIndices(), model.getIndexFormat(), index_buffer);
if(!tracing.create(Tracing::TypeTriangle, Tracing::FlagCompact | Tracing::FlagFastTrace)) return 1;
Geometry Tracing supports multiple geometries. Here, we are using a single geometry from the model, providing information about formats and strides. The optional offset argument is set to zero in our case. However, more than just creating a Tracing interface, it needs to be built by the GPU driver. For this purpose, a temporary build buffer is required, and its minimal size can be obtained using the Tracing::getBuildSize() method. The only requirement for this buffer is the presence of the Buffer::FlagScratch flag. It’s possible to reuse this buffer in different places. Building a geometry requires only a simple line of code. The Device interface allows the construction of multiple Tracing objects in one call, but the size of the build buffer must be proportionally larger; otherwise, the Device interface will split the process into multiple commands:
// build tracing
if(!device.buildTracing(tracing, build_buffer, Tracing::FlagCompact)) return 1;
To create the instance Tracing, we need to specify the Tracing::Instance structure and provide an Instance buffer that is large enough to store all of our instances:
// create instances
Tracing::Instance instance;
instance.mask = 0xff;
instance.tracing = &tracing;
Array<Tracing::Instance> instances(grid_size * grid_size * grid_height, instance);

// create instances buffer
Buffer instances_buffer = device.createBuffer(Buffer::FlagStorage | Buffer::FlagTracing, Tracing::InstanceSize * instances.size());
if(!instances_buffer) return 1;

// create instances tracing
Tracing instances_tracing = device.createTracing(instances.size(), instances_buffer);
if(!instances_tracing) return 1;
The final step involves creating a Rendering Pipeline responsible for rendering a full-screen triangle. We require a single Uniform argument, two Storage arguments for the Vertex and Index buffers, and a single argument for the instance Tracing, all of which are accessible from the Fragment shader:
// create pipeline
Pipeline pipeline = device.createPipeline();
pipeline.setUniformMask(0, Shader::MaskFragment);
pipeline.setStorageMasks(0, 2, Shader::MaskFragment);
pipeline.setTracingMask(0, Shader::MaskFragment);
pipeline.setColorFormat(window.getColorFormat());
pipeline.setDepthFormat(window.getDepthFormat());
if(!pipeline.loadShaderGLSL(Shader::TypeVertex, "main.shader", "VERTEX_SHADER=1")) return 1;
if(!pipeline.loadShaderGLSL(Shader::TypeFragment, "main.shader", "FRAGMENT_SHADER=1")) return 1;
if(!pipeline.create()) return 1;
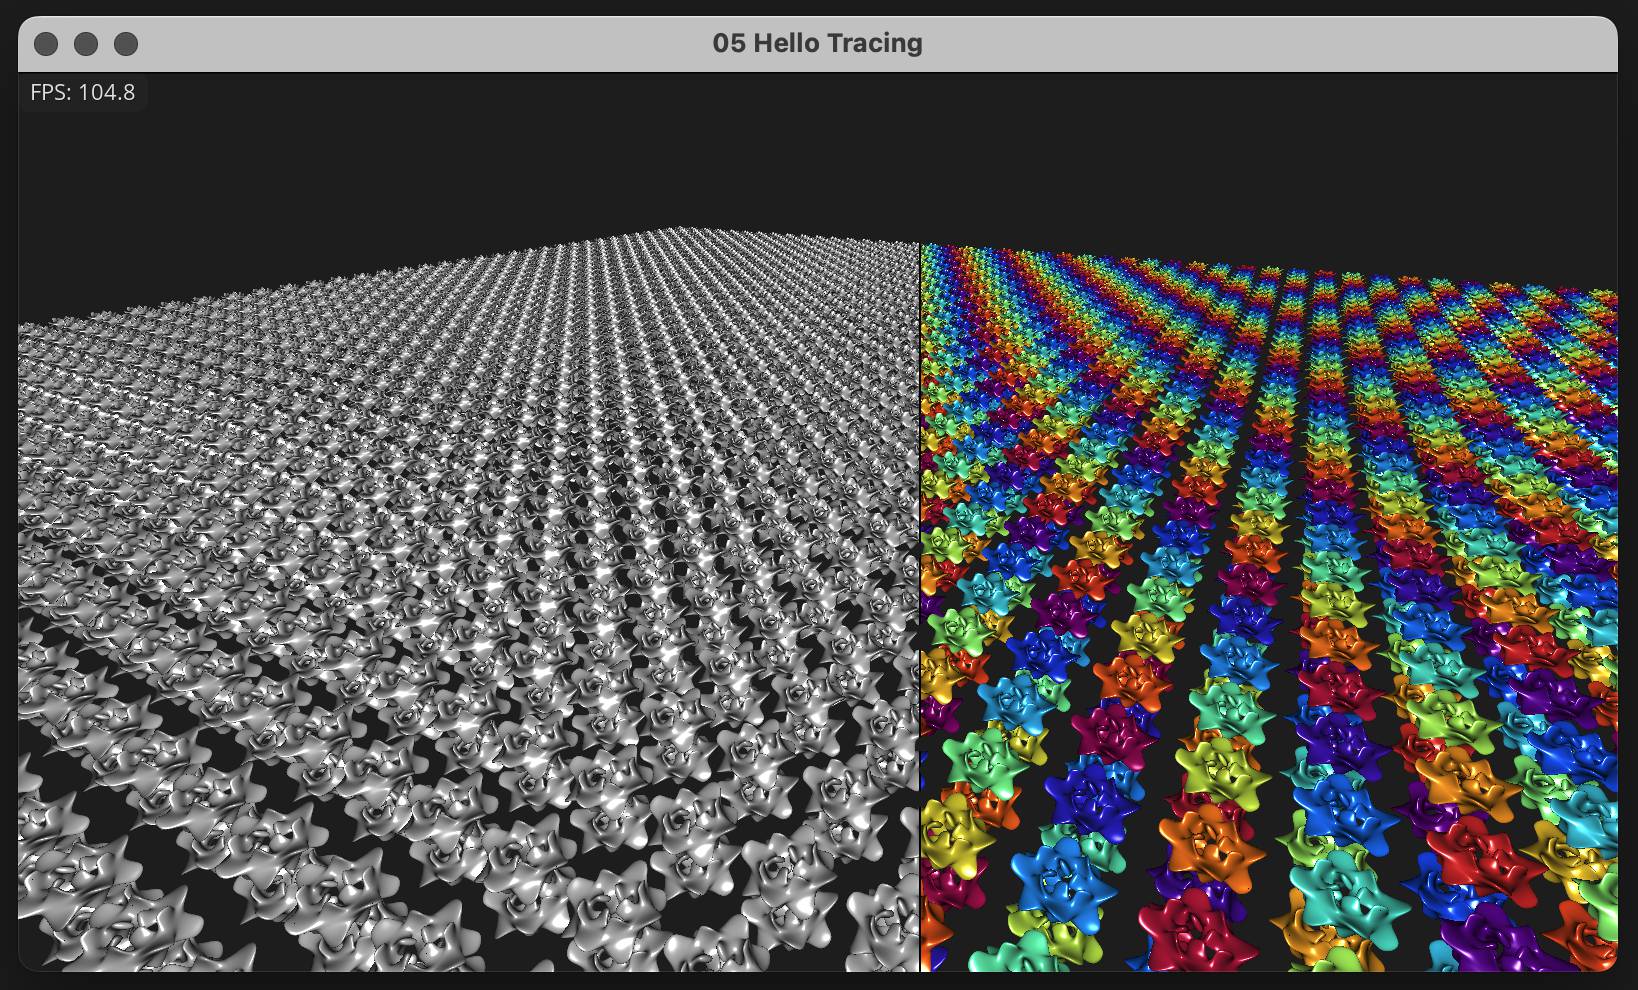
The Ray Tracing shader calculates the ray direction from the camera to each pixel on the screen. The Fragment shader discards the output if the ray doesn’t hit any geometry. However, if the ray does intersect geometry, Ray Query objects provide us with detailed intersection information. This information includes instance and triangle indices, triangle barycentric coordinates, and the transformation matrix of the instance. By utilizing these parameters, we can calculate the normal at the intersection point using the Vertex and Index geometry buffers:
layout(location = 0) in vec2 s_texcoord;

layout(row_major, binding = 0) uniform CommonParameters {
    mat4 projection;
    mat4 imodelview;
    vec4 camera;
    float window_width;
    float window_height;
    float time;
};

layout(std430, binding = 1) readonly buffer VertexBuffer { vec4 vertex_buffer[]; };
layout(std430, binding = 2) readonly buffer IndexBuffer { uint index_buffer[]; };

layout(binding = 0, set = 1) uniform accelerationStructureEXT tracing;

layout(location = 0) out vec4 out_color;

/*
 */
void main() {

    // ray parameters
    float x = (s_texcoord.x * 2.0f - 1.0f + projection[2].x) / projection[0].x;
    float y = (s_texcoord.y * 2.0f - 1.0f + projection[2].y) / projection[1].y;
    vec3 ray_position = (imodelview * vec4(0.0f, 0.0f, 0.0f, 1.0f)).xyz;
    vec3 ray_direction = normalize((imodelview * vec4(x, y, -1.0f, 1.0f)).xyz - ray_position);

    // closest intersection
    rayQueryEXT ray_query;
    rayQueryInitializeEXT(ray_query, tracing, gl_RayFlagsOpaqueEXT, 0xff, ray_position, 0.0f, ray_direction, 1000.0f);
    while(rayQueryProceedEXT(ray_query)) {
        if(rayQueryGetIntersectionTypeEXT(ray_query, false) == gl_RayQueryCandidateIntersectionTriangleEXT) {
            rayQueryConfirmIntersectionEXT(ray_query);
        }
    }

    // check intersection
    [[branch]] if(rayQueryGetIntersectionTypeEXT(ray_query, true) == gl_RayQueryCommittedIntersectionNoneEXT) discard;

    // camera direction
    vec3 direction = -ray_direction;

    // intersection parameters
    uint instance = rayQueryGetIntersectionInstanceIdEXT(ray_query, true);
    uint index = rayQueryGetIntersectionPrimitiveIndexEXT(ray_query, true) * 3u;
    vec2 texcoord = rayQueryGetIntersectionBarycentricsEXT(ray_query, true);
    mat4x3 transform = rayQueryGetIntersectionObjectToWorldEXT(ray_query, true);

    // interpolate normal
    vec3 normal_0 = vertex_buffer[index_buffer[index + 0u] * 2u + 1u].xyz;
    vec3 normal_1 = vertex_buffer[index_buffer[index + 1u] * 2u + 1u].xyz;
    vec3 normal_2 = vertex_buffer[index_buffer[index + 2u] * 2u + 1u].xyz;
    vec3 normal = normal_0 * (1.0f - texcoord.x - texcoord.y) + normal_1 * texcoord.x + normal_2 * texcoord.y;
    normal = normalize(transform[0].xyz * normal.x + transform[1].xyz * normal.y + transform[2].xyz * normal.z);

    // light color
    float diffuse = clamp(dot(direction, normal), 0.0f, 1.0f);
    float specular = pow(clamp(dot(reflect(-direction, normal), direction), 0.0f, 1.0f), 16.0f);

    // instance color
    vec3 color = cos(vec3(0.0f, 0.5f, 1.0f) * 3.14f + float(instance)) * 0.5f + 0.5f;
    float position = window_width * (cos(time) * 0.25f + 0.75f);
    if(gl_FragCoord.x < position) color = vec3(0.75f);

    // output color
    if(abs(gl_FragCoord.x - position) < 1.0f) out_color = vec4(0.0f);
    else out_color = vec4(color, 1.0f) * diffuse + specular;
}
Our application can run on Windows, Linux, and macOS using Vulkan, Direct3D12, or Metal API, and no code modification is required. Tellusim Shader compiler will create shaders for the target API, and the platform abstraction layer will isolate us from low-level code:
While we use the same scene as in the 04 Hello Raster tutorial, we can perform a performance comparison between Compute rasterization and Ray Tracing:
| 1600×900 | 2560×1440 | |||
|---|---|---|---|---|
| RT | CS | RT | CS | |
| GeForce 3090 Ti | 2050 FPS (0.3 ms) | 780 FPS (1.1 ms) | 1260 FPS (0.6 ms) | 400 FPS (2.3 ms) |
| GeForce 2080 Ti | 1290 FPS (0.5 ms) | 520 FPS (1.7 ms) | 734 FPS (1.1 ms) | 270 FPS (3.4 ms) |
| GeForce 3060 M | 720 FPS (0.9 ms) | 195 FPS (4.3 ms) | 360 FPS (2.3 ms) | 100 FPS (9.0 ms) |
| Radeon 6900 XT | 640 FPS (0.8 ms) | 667 FPS (1.1 ms) | 355 FPS (2.0 ms) | 379 FPS (2.0 ms) |
| Radeon 6700 XT | 415 FPS (1.6 ms) | 367 FPS (2.1 ms) | 217 FPS (3.6 ms) | 212 FPS (4.0 ms) |
| Radeon 6600 | 310 FPS (2.6 ms) | 270 FPS (3.0 ms) | 140 FPS (6.0 ms) | 150 FPS (6.0 ms) |
| Intel Arc A770 | 850 FPS (0.6 ms) | 450 FPS (1.7 ms) | 500 FPS (1.4 ms) | 250 FPS (3.4 ms) |
| Intel Arc A380 | 320 FPS (2.6 ms) | 130 FPS (7.2 ms) | 160 FPS (5.8 ms) | 65 FPS (14 ms) |
| Apple M1 Max | 104 FPS | 188 FPS (5 ms) | 55 FPS | 102 FPS (9.5 ms) |
| Apple M1 | 30 FPS | 50 FPS (19 ms) | 14 FPS | 26 FPS (36 ms) |
In this scenario, where 30% of rays do not hit geometry, Ray Tracing is significantly faster than rasterization. With hardware-accelerated Ray Tracing, you can forget about LODs and use high-polygonal models, achieving excellent frame rates. But there is a price for that:
- Additional memory is needed for the Tracing interface, and it’s larger than the combined size of all LODs.
- Each animated character (geometry) requires its own Tracing interface, significantly increasing memory consumption.
- Animated and dynamic geometry must be rebuilt (updated) after geometry modification, which can reduce performance in dynamic scenes.
- The alpha test materials are very expensive for Ray Tracing.